Let’s be honest, we’ve all been there. You pop a couple of slices into the toaster, turn your back for what feels like a second, and you’re greeted by the acrid smell of failure and two blackened, inedible slabs of charcoal. Knowing How To Avoid Burning Toast feels like it should be simple, yet it’s a daily kitchen tragedy in homes around the world. As the Senior Product Expert at “The World of Toaster,” I’m here to tell you that it’s not your fault. Achieving that perfect, edge-to-edge golden-brown crispness is an art and a science, and your trusty toaster is your most important tool. Forget the frustration. Together, we’re going to demystify the process and turn you into a toast-making maestro.
The Burnt Toast Conundrum: Why Does It Happen?
Before we can solve the problem, we need to understand the culprit. Burning toast is rarely a single issue, but rather a perfect storm of small, overlooked factors. Understanding these is the first step in learning how to avoid burning toast for good.
It’s Not You, It’s Your Bread
The type of bread you’re using plays a massive role. A dense, moist sourdough will toast very differently from a light, airy slice of white sandwich bread.
- Sugar Content: Breads with higher sugar content, like brioche or cinnamon raisin, caramelize much faster. They require a lower setting and a watchful eye.
- Thickness: A thick, artisan slice needs more time for the heat to penetrate, while a thin slice can go from golden to black in a heartbeat.
- Moisture Level: Fresh bread has more moisture and needs more toasting time than a slightly stale slice, which will brown very quickly.
Understanding Your Toaster’s Quirks
Not all toasters are created equal. An old, hand-me-down appliance might have “hot spots” due to aging heating elements.
“The core of any toaster is its nichrome heating element array. Over time, or in cheaper models, these elements can degrade, leading to uneven heat distribution—the primary cause of one-sided burning or striped toast.” – Dr. Eleanor Vance, Appliance Historian
Knowing your machine is key. Does the number 3 setting mean “lightly warmed” or “approach with caution”? A little experimentation is necessary to learn its unique personality.
The Ultimate Guide on How to Avoid Burning Toast
Ready to achieve toasting nirvana? Let’s break down the actionable steps. This isn’t just a list of tips; it’s a new philosophy for approaching your morning ritual.
1. Start with the Right Setting (The Golden Rule)
This sounds obvious, but it’s the most common mistake. Don’t just set it and forget it.
- Rule of Thumb: Always start on a lower setting than you think you need. You can always toast it for “a bit more,” but you can never un-burn a slice. For a standard white bread, a medium-low setting (around 3 or 4 on a 1-7 dial) is a great starting point.
- Adjust for Bread Type: As mentioned, sugary breads need a lower setting. Dense, whole-grain breads might need a slightly higher setting to toast through.
2. The “Lift and Look” Technique
Many modern toasters have a “Lift and Look” or “Peek and Pop” feature that lets you check progress without canceling the cycle. If your toaster doesn’t have this, don’t be afraid to manually cancel the cycle, check the toast, and pop it back in if needed. It’s better to be hands-on than to scrape carbon off your breakfast.
3. Consistency is Key
Try to toast similar types and thicknesses of bread together. Toasting a thick slice of rye with a thin slice of white bread in a four-slice toaster is a recipe for disaster, as they have completely different toasting requirements.
4. Know Your Toaster’s Special Features
Modern toasters are packed with technology designed to give you the perfect slice. Are you using yours to its full potential?
- Bagel Setting: This is a game-changer. It typically toasts the cut side of the bagel more intensely while gently warming the crusty back. It’s also perfect for English muffins or thick artisan bread where you only want one side crispy.
- Defrost Setting: Toasting bread straight from the freezer? Don’t just crank up the dial. The defrost function adds extra time to the cycle, first gently thawing the bread and then toasting it. This prevents the outside from burning while the inside remains a frozen brick.
- “A Bit More” Button: This is your best friend. If your toast pops up and it’s just a shade too light, this button adds about 30 extra seconds of toasting time. It’s the most controlled way to inch your way to perfection.
5. Keep It Clean!
A crumb-filled toaster isn’t just a fire hazard; it’s a major cause of burnt toast. The crumbs at the bottom can ignite or smolder, creating uneven heat and a nasty, burnt taste that can permeate your fresh slice.
How to Clean Your Crumb Tray:
- Unplug the toaster. Safety first, always.
- Locate and remove the crumb tray. It’s usually a small, slide-out tray at the bottom.
- Empty the crumbs into the trash or compost.
- Wipe the tray with a damp cloth and dry it completely before reinserting.
- For stubborn crumbs inside, turn the unplugged toaster upside down over the sink and gently shake.
For a more detailed guide, check out our post on how to properly clean and maintain your toaster.
|
Our Picks for the Best Toaster in 2026
As an Amazon Associate, we earn from qualifying purchases.
|
||
| Num | Product | Action |
|---|---|---|
| 1 | Elite Gourmet ECT-3100 Long Slot 4 Slice Toaster, Reheat, 6 Toast Settings, Defrost, Cancel Functions, Built-in Warming Rack, Extra Wide Slots for Bagels & Waffles, Stainless Steel & Black |

|
| 2 | Amazon Basics 2 Slice Toaster, With 6 Browning Settings, Extra Wide Slots For Bagels and Special Breads, Removable Easy-to-Clean Crumb Tray, Cancel/Defrost/Bagel Buttons, 900W, Black & Silver |
|
| 3 | Mueller UltraToast Full Stainless Steel Toaster 4 Slice, Long Extra-Wide Slots for Bagels and Waffles, 6 Browning Levels, LED Display, Cancel/Defrost/Reheat Functions & Removable Tray, Kitchen Gadgets |
|
| 4 | Cuisinart 4 Slice Toaster, Compact Stainless Steel Toaster with Extra-Wide Slots for Toasting Bread, French Toast, Bagels and Pastries, Defrost & Reheat Functions, CPT-180P1, Brushed Stainless |
|
| 5 | Amazon Basics 2 Slice Toaster, With 6 Browning Settings, Extra Wide Slots For Bagels and Special Breads, Removable Easy-to-Clean Crumb Tray, Cancel/Defrost/Bagel Buttons, 900W, Black & Silver |
|
| 6 | bella 2 Slice Slim Toaster, Fits-anywhere™ Kitchenware, 6 Setting Shade Control with Reheat & Cancel Buttons, Fits sourdough, 10” Long Slot, Anti Jam & Auto Shutoff, 900 Watt, Oatmilk |
|
| 7 | Hamilton Beach 2 Slice Toaster with Extra-Wide Slots, Bagel Setting, Toast Boost, Slide-Out Crumb Tray, Auto-Shutoff & Cancel Button, Defrost Function, Stainless Steel (22794) |
|
| 8 | Amazon Basics 4 Slice Toaster, 6 Browning Settings, Removable Crumb Tray, Bagel and Defrost Function, Cancel Button, 1600W, Black |
|
| 9 | Black Toaster 2 Slice, Extra Wide Slot Toaster for Bagels, Bread, Waffles, 7 Shade Settings, 4 Main Functions, Removable Crumb Tray, 900 Watts Toasters, Black Stainless Steel |
|
| 10 | Elite Gourmet ECT1027B Cool Touch Toaster with 6 Temperature Settings & Extra Wide 1.25\" Slots for Bagels, Waffles, Specialty Breads, Puff Pastry, Snacks, ETL Certified, 2 Slices, Black |
|
Are You Using the Right Tool for the Job?
Sometimes, despite your best efforts, the problem is the appliance itself. If your toaster consistently burns one side, has only a few unreliable settings, or can’t fit your favorite type of bread, it might be time for an upgrade. A quality toaster is an investment in a better breakfast.
What to Look for in a Burn-Proof Toaster
When browsing for a new toaster, here are the features that will help you avoid burning toast forever.
- Even-Heating Technology: Look for brands that talk about their self-centering guides (which hold the bread perfectly in the middle) and advanced heating elements for uniform browning.
- Precise Browning Control: More is better. A simple “light/dark” switch is less reliable than a dial with 6 or 7 distinct settings. Some high-end models even have digital, time-based controls.
- Helpful Features: The “Lift and Look,” “A Bit More,” and “Defrost” functions we discussed are non-negotiable for the serious toast enthusiast.
- Slot Size: If you love artisan breads, bagels, or thick-cut toast, a toaster with long or wide slots is essential to prevent jamming and ensure even toasting.
Top Toaster Models Compared
| Model | Key Features | Best For | Price Range |
|---|---|---|---|
| Breville Die-Cast Smart Toaster | Motorized lift, “A Bit More” & “Lift and Look”, LED progress indicator | The tech-lover who wants perfect results every time | $$$ |
| Cuisinart CPT-440 Touch to Toast | Motorized lift, digital browning controls, multiple bread settings | Families with diverse toasting needs | $$ |
| KitchenAid 4-Slice Toaster KMT4115 | Manual high-lift lever, extra-wide slots, bagel function | Style-conscious users who love artisan breads | $$ |
| AmazonBasics 2-Slice Toaster | Simple 6-shade setting, removable crumb tray, extra-wide slot | Budget-conscious individuals and small kitchens | $ |
Frequently Asked Questions (FAQ)
Q: Why does my toaster burn toast on one side?
A: This is almost always caused by uneven or failing heating elements. It can also happen if the self-centering guides in the slots are broken, causing the bread to lean closer to one side. A thorough cleaning might help, but it often indicates it’s time for a new toaster.
Q: What is the best toaster setting for perfect toast?
A: There’s no single magic number, as it depends on your bread type and personal preference. However, a great starting point for standard sliced white or wheat bread is a medium-low setting, typically around a 3 or 4 on a 7-point dial. Always start low and add more time if needed.
Q: Can I toast frozen bread without burning it?
A: Absolutely! The key is to use the “Defrost” button on your toaster. This function extends the toasting time at a lower power to gently thaw the bread before browning it, which is the most effective way how to avoid burning toast that’s frozen.
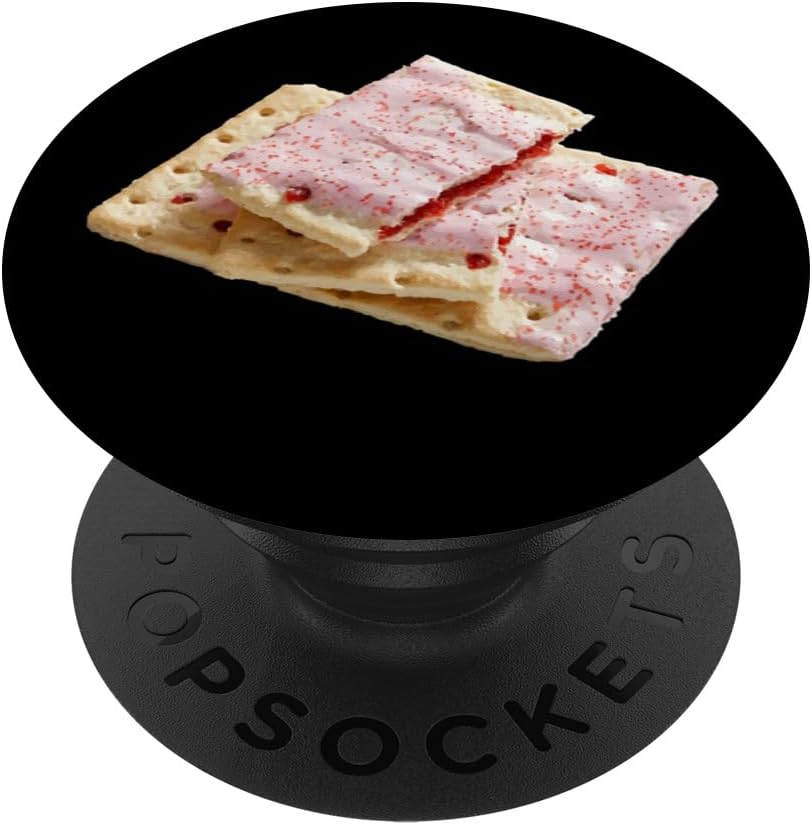
Q: How can I toast items like pastries without them burning?
A: For items with high sugar content like a Pop-Tart or a frosted pastry, always use the lowest possible setting. The sugar will caramelize and burn very quickly. Watch it closely and use the “Lift and Look” feature frequently.
Q: Does the age of the bread affect how it toasts?
A: Yes, significantly. Drier, slightly older bread has less moisture and will toast much faster than fresh bread. You should use a lower setting for older bread to prevent it from burning before it’s even heated through.
Your Journey to Perfect Toast Starts Now
Mastering the art of how to avoid burning toast is about more than just a better breakfast; it’s about taking a moment to be mindful and deliberate in a small, daily ritual. It requires understanding your ingredients, knowing your equipment, and using the right techniques. By starting with a lower setting, using your toaster’s features wisely, and keeping your appliance clean, you can banish burnt toast from your kitchen forever. A great day often starts with a great meal, and there’s nothing better than the simple, satisfying crunch of a perfectly golden-brown slice of toast.