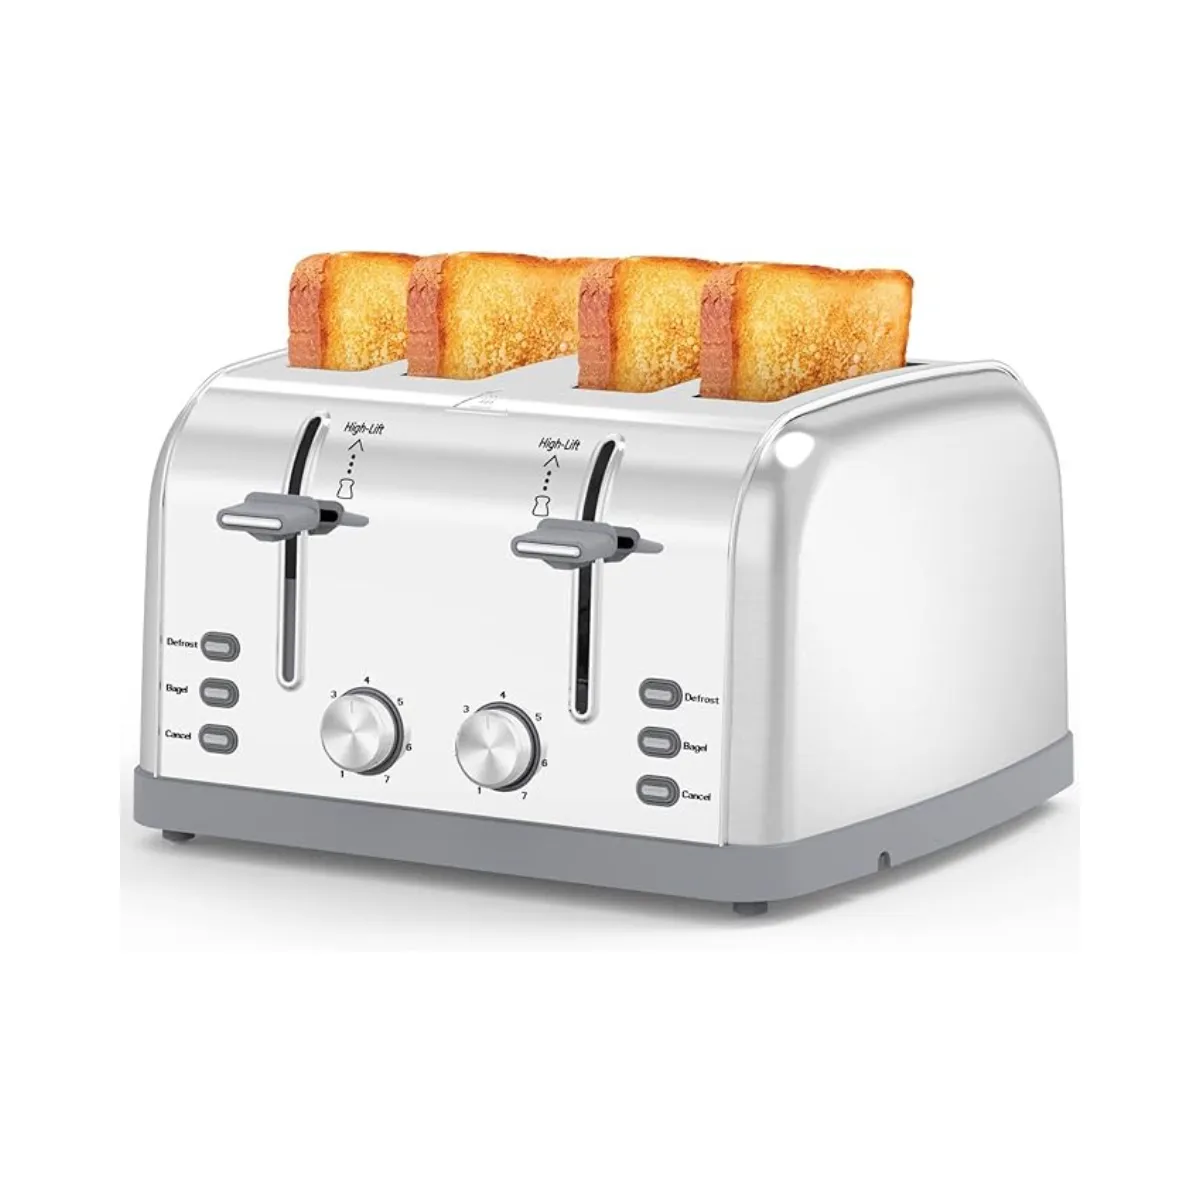
Let’s be honest, we’ve all been there. You pop a slice of bread into your trusty toaster, and instead of the delightful aroma of golden-brown toast, you get the acrid smell of… burning. That, my friends, is the unmistakable scent of forgotten crumbs meeting their fiery end. Knowing How To Clean A Toaster properly is not just about keeping your kitchen tidy; it’s about better-tasting food, a longer life for your appliance, and even home safety. It might seem like a daunting task, peering into those dark slots, but I promise you it’s easier than you think. As the Senior Product Expert here at Toaster World, I’m going to walk you through a foolproof method that will get your toaster looking and performing like it just came out of the box.
Why You Absolutely Should Clean Your Toaster
Before we roll up our sleeves, let’s talk about the “why.” You might think a few crumbs are harmless, but they can cause a surprising amount of trouble.
- Fire Hazard: This is the big one. An accumulation of dry crumbs, lint, and bits of forgotten bread can literally ignite from the heat of the elements. The National Fire Protection Association regularly points to small appliances as a source of home fires, and a dirty toaster is a completely preventable risk.
- Better Tasting Toast: Those burning crumbs don’t just smell bad; they impart a bitter, smoky flavor onto your fresh slice of sourdough. A clean toaster means your toast tastes like, well, toast—not the ghosts of breakfasts past.
- Appliance Longevity: Crumbs and oils can interfere with the heating elements and internal mechanisms, leading to uneven toasting or even complete failure. Regular cleaning is the single best thing you can do to ensure your toaster serves you faithfully for years to come.
Before You Start: Gathering Your Cleaning Arsenal
You don’t need a lot of fancy equipment for this job. In fact, you probably have everything you need in your kitchen already.
- A large trash can or a few sheets of newspaper
- A soft, long-bristled brush (a pastry brush or a new, clean paintbrush is perfect)
- A clean toothbrush for tight spots
- A soft microfiber cloth
- A damp cloth (with a drop of mild dish soap, if needed)
- White vinegar or a stainless steel cleaner (depending on your toaster’s exterior)
Expert Tip: Avoid any harsh abrasives or chemical sprays for the interior. The residue can be toxic when heated. Gentle, physical removal of debris is always the safest bet.
The Main Event: How to Clean a Toaster Step by Step
Ready to de-crumb? Let’s get this done. This simple, six-step process will take you less than 15 minutes.
- Safety First: Unplug and Cool Down
This is the most critical step and it is non-negotiable. Never, ever attempt to clean a toaster while it’s plugged in. Unplug it from the wall and give it plenty of time to cool down completely if it has been used recently. - Locate and Empty the Crumb Tray
The crumb tray is the unsung hero of your toaster. It’s designed to catch the majority of the debris. Slide it out and dump the contents directly into the trash can. If it’s greasy, give it a quick wash with warm, soapy water, but make sure it is 100% dry before putting it back. - The Big Shake-Up
With the crumb tray removed, take your toaster over to the trash can or a spread of newspaper. Turn it upside down and give it a few gentle, firm shakes. You’ll be amazed (and maybe a little horrified) at how many crumbs were hiding in there. Don’t be too aggressive, just enough to dislodge the loose bits. - The Inside Job: A Gentle Sweep
This is where your soft-bristled brush comes in. With the toaster still upside down or on its side, use the brush to gently sweep the interior. Pay close attention to the wires of the heating element cages, as crumbs love to get stuck there. The goal is to loosen any stubborn crumbs and guide them out of the slots. A toothbrush can help you get into the corners. Remember: be gentle! Those heating elements are delicate. - Tackling the Exterior: Make It Shine
The outside of your toaster needs love, too. How you clean it depends on the material.For Stainless Steel Toasters
Stainless steel looks beautiful but shows every single fingerprint. Dampen a microfiber cloth with a 50/50 solution of white vinegar and water. Wipe down the exterior, moving in the direction of the grain. Dry it immediately with a clean, dry cloth to prevent water spots and restore its shine.
For Plastic or Painted Toasters
A simple cloth dampened with warm water and a tiny drop of dish soap is usually all you need. Gently wipe away any grime or smudges, then go over it with a clean, damp cloth to remove any soap residue. Dry thoroughly.
- Reassemble and Admire
Once everything is clean and completely dry, slide the crumb tray back into place. Give the exterior one last buff with a dry cloth, and you’re done! Your toaster is now clean, safe, and ready to make perfect toast.
How Often Should You Clean Your Toaster?
This is a common question, and the answer depends on your usage. For most households, a good routine is key to preventing buildup.
A quick, direct answer: A quick crumb tray empty once a week and a deeper clean once a month is a great rule of thumb. If you are a heavy user, toasting multiple times a day, you might want to empty the tray every few days.
Common Toaster Cleaning Mistakes to Avoid
In my years of experience, I’ve seen some well-intentioned cleaning attempts go very wrong. Avoid these common pitfalls to protect your appliance and yourself.
- Never Submerge in Water: It sounds obvious, but it has to be said. Submerging a toaster in water will destroy the electrical components and is incredibly dangerous.
- Don’t Use Metal Utensils: Never stick a knife or fork into your toaster to dislodge a stuck piece of bread, especially when it’s plugged in. You risk electrocution and damaging the delicate heating elements.
- Avoid Harsh Chemical Sprays: Never spray any kind of cleaner directly into the toaster slots. The residue can create toxic fumes when the toaster heats up.
- Forgetting to Dry the Crumb Tray: Putting a damp crumb tray back into your toaster can lead to rust and potential electrical issues. Always ensure it’s bone dry.
Frequently Asked Questions
What’s that burning smell coming from my toaster?
Nine times out of ten, that burning smell is simply an accumulation of crumbs on the bottom of your toaster making contact with the hot elements. Following the cleaning steps above will almost certainly solve the problem.
Can I use a can of compressed air to clean my toaster?
While it seems like a good idea, it can sometimes be counterproductive. Compressed air can blow crumbs deeper into the toaster’s internal mechanisms where they are harder to remove. A gentle shake and a soft brush are much safer and more effective.
How do I get melted cheese or plastic off the heating elements?
This is tricky. First, unplug the toaster and let it cool completely. Once cool, you can try to gently scrape the cooled, hardened substance off with a wooden or plastic utensil, like a chopstick. Do not use metal. If it’s stubborn, you may need to consult the manufacturer’s instructions, as some messes are unfortunately permanent.
Is it safe to use a hair dryer to blow out crumbs?
Similar to compressed air, this isn’t recommended. A hair dryer on a cool setting might be okay, but the heat setting can damage plastic components, and the force can still lodge crumbs in unfortunate places. The “upside-down shake” method is superior.
My toaster doesn’t have a removable crumb tray. What now?
Some older or more basic models have a “hinged” crumb door at the bottom. Check for a latch you can open to dump the crumbs. If there is no tray or door at all, the “upside-down shake and brush” method is your primary way to clean the interior.
Learning how to clean a toaster is a simple skill that pays big dividends in flavor, safety, and the longevity of your appliance. By investing just a few minutes each month, you ensure this humble kitchen workhorse continues to be a source of daily delight, not a smoky nuisance. Here’s to many more years of perfectly golden toast, from our kitchen at Toaster World to yours.