There’s nothing quite like the excitement of unboxing a brand-new kitchen appliance. You’ve picked out the perfect model, it looks sleek on your countertop, and you’re dreaming of that first, perfectly golden-brown slice of toast. You plug it in, push down the lever, and then… what’s that smell? If you’re thinking, “Yikes, My New Toaster Smells Bad,” you are absolutely not alone. It’s a surprisingly common experience that can turn your breakfast dreams into a moment of concern. But before you pack it back in the box, let’s talk. As the Senior Product Expert here at Toaster World, I’ve seen it all, and I’m here to walk you through exactly what’s going on, why it’s happening, and how to get your toaster from funky to fantastic.
Why Does My New Toaster Smell Bad? The Usual Suspects
So, what is that weird, often chemical or plastic-like odor? The short answer is that it’s usually just manufacturing residue burning off. This is a normal part of the process for many new appliances that use heating elements.
Think of it like the “new car smell,” but for your kitchen. During production and packaging, toasters are treated with various substances to protect them from scratches, rust, and damage during shipping. When you fire it up for the first time, these protective coatings on the internal components, especially the heating elements, get hot and release that distinct odor.
Here’s a breakdown of the most common culprits:
- Protective Oils and Coatings: The metal heating elements are often coated with a food-safe oil or resin to prevent corrosion while they sit in a warehouse. This is the most likely source of that metallic or oily smell.
- Plastic Off-Gassing: Many toasters have plastic components in their housing. The heat can cause these parts to release volatile organic compounds (VOCs), a process called “off-gassing.” It sounds a bit scary, but it’s typically harmless and temporary.
- Adhesives and Insulation: Internal components might be held together with adhesives or surrounded by insulation, which can also release an odor during the initial heating cycles.
- Packaging Debris: Tiny bits of styrofoam, plastic wrap, or cardboard can sometimes find their way inside the toaster slots. When heated, these will definitely create a pungent, unpleasant smell.
As Dr. Eleanor Vance, a materials scientist specializing in consumer appliances, often notes, “The initial burn-in period is a critical step. It’s a planned process where harmless manufacturing residues are vaporized, conditioning the appliance for safe and odor-free use. It’s science, not a defect.”
The Fix: A Step-by-Step Guide to Deodorizing Your Toaster
Getting rid of that “new toaster smell” is straightforward. The solution is to perform a “burn-in” or “curing” cycle. This simple process will safely burn off all that manufacturing gunk, leaving your toaster fresh and ready for action.
- Safety First: Find a Ventilated Spot. Before you begin, move your toaster to a well-ventilated area. Place it near an open window or under your kitchen’s exhaust fan. This will help dissipate the smell and any light smoke that might appear.
- A Thorough Inspection. Unplug the toaster. Turn it upside down and give it a gentle shake over a sink or trash can to dislodge any loose packaging materials or debris. Peek inside the slots with a flashlight to ensure they’re completely empty.
- Wipe It Down. Use a soft, damp cloth to wipe down the exterior of the toaster. Never submerge your toaster in water or put liquid directly into the slots.
- Run the “Burn-In” Cycles. Now for the main event. Plug the toaster back in, ensuring it’s empty (no bread!). Set it to the highest heat or browning setting and run a full cycle. You will likely notice the smell is strongest during this first run.
- Repeat as Needed. Let the toaster cool down for a few minutes, then run it through another 2-3 cycles on the highest setting. For most toasters, this is enough to eliminate the odor completely. The smell should lessen with each cycle.
- Final Cool-Down. Once the smell is gone, let the toaster cool down completely before its first real use. Your appliance is now seasoned and ready to make perfect toast.
When the “New Toaster Smell” Is a Red Flag
While the scenario above is normal for 99% of cases where my new toaster smells bad, there are times when an odor can signal a real problem. Trust your instincts. If something feels seriously wrong, it probably is.
Be on the lookout for these warning signs:
- Thick, Acrid Smoke: A tiny wisp of smoke during the first burn-in is okay. Thick, black, or acrid-smelling smoke is not. Unplug the toaster immediately.
- The Smell of Melting Plastic: A slight plastic scent is one thing, but a strong, pungent odor that smells like something is actively melting is a major red flag. This could indicate a faulty component is overheating.
- A Persistent Electrical or Ozone Smell: If you smell something that reminds you of burning wires or a sharp electrical “zap,” there could be a wiring issue. Do not continue to use it.
- Visible Sparks or Flames: This one is obvious, but it bears repeating. If you see sparks (other than the gentle glow of the elements) or flames, unplug it immediately if it’s safe to do so.
If you experience any of these, stop using the toaster, unplug it, and contact the manufacturer or the retailer for a return or exchange. Your safety is always the top priority.
Choosing the Right Toaster for a Smell-Free Future
While most new toasters will have some initial odor, the quality of materials can make a difference. When you’re in the market for a new toaster, considering the build quality can lead to a better overall experience, from the first use to the thousandth.

Here’s a quick comparison of common toaster types and what to look for:
| Toaster Type | Key Features | Material Considerations |
|---|---|---|
| Pop-Up Toaster | 2 or 4 slots, compact, focused on toasting bread & bagels. | Look for stainless steel housing over all-plastic models. Better insulation and build quality often lead to less off-gassing. |
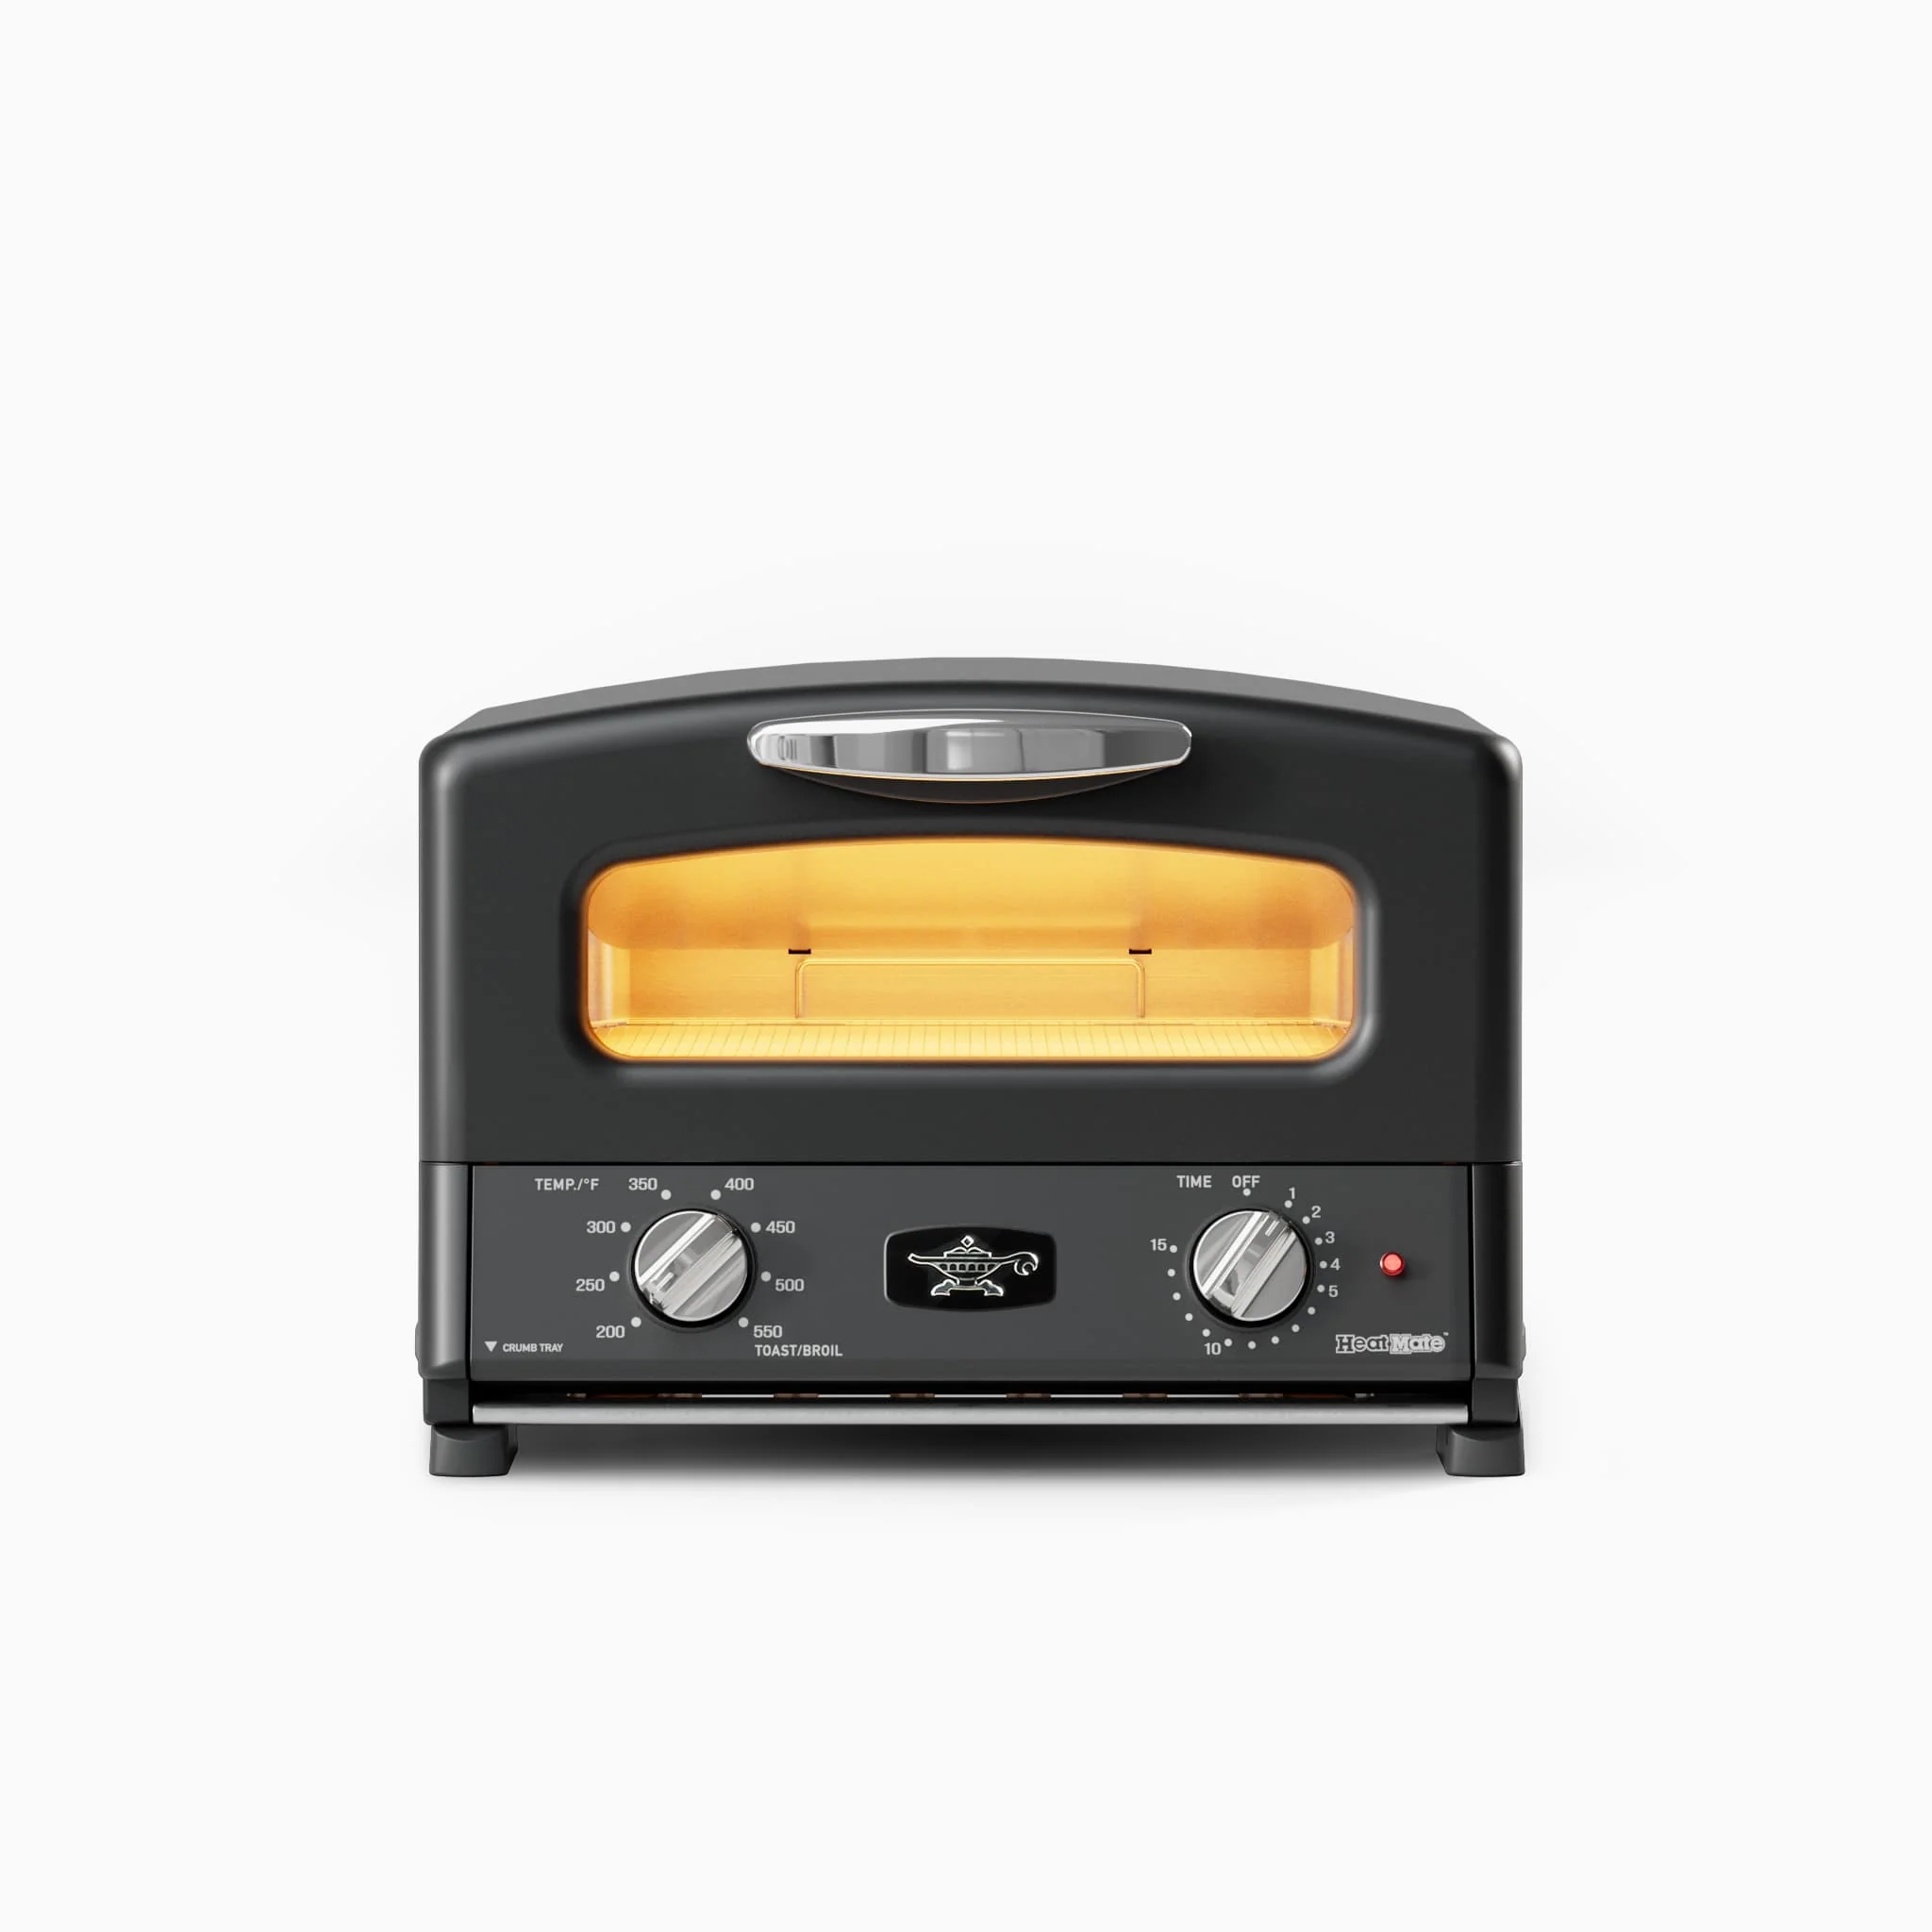
| Toaster Oven | Horizontal design, versatile (bakes, broils, toasts), larger footprint. | Interior materials matter. Models with non-stick coatings may have a stronger initial smell; stainless steel interiors are often preferred. |
| Smart Toaster | Touchscreens, motorized lifts, precise browning controls. | High-end materials are standard, but complex electronics mean you should always buy from a reputable brand with a good warranty. |
Investing in a well-regarded brand known for quality control, like Breville, Cuisinart, or Smeg, can often minimize the intensity and duration of that initial “new toaster smell.”
Pro Tips for a Long and Happy Toaster Life
Once your toaster is smell-free and broken in, keeping it in top shape is easy. Regular maintenance not only extends its life but also ensures your toast tastes like, well, toast—not burnt crumbs.
- Empty the Crumb Tray: Do this at least once a week! A build-up of crumbs can burn, creating a nasty smell and a potential fire hazard.
- Never Use Metal Utensils: Don’t try to fish out a stuck piece of bread with a fork. You risk damaging the heating elements and giving yourself an electric shock. Unplug it and gently shake it out.
- Store It Properly: Keep your toaster away from water sources and give it plenty of space for air to circulate, preventing overheating.
For a deep dive into the best models on the market, check out our annual review of the Best Toasters of the Year to find the perfect fit for your kitchen.
Frequently Asked Questions (FAQ)
Q: How long does the new toaster smell last?
A: The smell typically lasts for just the first few “burn-in” cycles. After running the empty toaster on its highest setting 2-4 times, the odor should be completely gone. If it persists after multiple uses, contact customer support.
Q: Is the smoke from a new toaster harmful?
A: The light smoke or vapor released during the initial burn-in is generally not harmful, as it’s just the manufacturing coatings burning off. However, it’s always best to do this in a well-ventilated room to avoid inhaling any fumes directly.
Q: Can I use vinegar or soap to clean the inside of my new toaster before use?
A: No, you should never put liquids like water, vinegar, or soap inside your toaster. This can severely damage the electrical components and heating elements. The burn-in process is the safest and most effective way to clean the interior before its first use.
Q: Why does my new toaster get so hot on the outside?
A: It’s normal for the exterior of a toaster, especially metal ones, to become hot during operation. However, it shouldn’t be hot enough to instantly burn you. Models with “cool-touch” technology or better insulation will stay cooler on the outside.
Q: My new toaster smells bad even after the burn-in. What should I do?
A: If you’ve run several burn-in cycles in a ventilated area and a strong chemical or plastic smell persists, stop using it. This could indicate a faulty unit. Contact the manufacturer or retailer, as it should be covered under warranty.
Your Journey to Perfect Toast Starts Now
So, the next time you unbox a new appliance and think, “my new toaster smells bad,” you can feel confident instead of concerned. That initial odor is usually just a sign of a factory-fresh product waiting to be seasoned. By following the simple burn-in steps, you’re not just getting rid of a smell; you’re prepping your new kitchen companion for a long and productive life. At Toaster World, we believe that understanding your appliances is the first step to mastering them. Now go ahead, grab your favorite bread, and toast to your new, perfectly deodorized toaster.