Let’s be honest, we’ve all been there. You’re craving that perfect, golden-brown sandwich with a gooey, melted center. But what you end up with is a culinary tragedy: burnt edges, a cold middle, or worse, the dreaded soggy bottom. If you’ve ever found yourself wondering What Is The Best Way To Toast A Sandwich, you’ve come to the right place. As the Senior Product Expert here at The Toaster World, I’ve dedicated countless hours to the science and art of the perfect toast. It’s not just about heat; it’s about technique, timing, and choosing the right tool for the job.
Forget everything you thought you knew. We’re about to embark on a journey to transform your sandwich game from mediocre to magnificent. By the end of this guide, you’ll be equipped with the knowledge to create a sandwich so good, it’ll feel like a warm hug on a plate.
Before You Toast: The Golden Rules of Sandwich Prep
The secret to a fantastic toasted sandwich begins long before it ever meets a heat source. Think of yourself as an artist, and the ingredients are your palette. A little prep work here is a total game-changer.
Choose Your Bread Wisely
Not all bread is created equal in the toasting world. A flimsy, thin white bread might fall apart or burn too quickly. You want something with a bit of character and structure.
- Sourdough: Its sturdy crust and airy interior provide a fantastic crunch and chew.
- Ciabatta or Focaccia: These Italian breads are robust and can handle heavy fillings without getting soggy.
- Thick-cut Brioche: For a richer, more decadent experience. Its high butter and egg content means it toasts to a beautiful deep gold.
- Whole Grain: A hearty, rustic option that adds a nutty flavor profile.
The Great Debate: Butter vs. Mayonnaise
Here’s a pro tip that divides households: what do you spread on the outside of the bread? While butter is the classic choice, I’m here to advocate for mayonnaise.
- Butter: Delivers that classic, nutty flavor. However, its milk solids can burn easily, leading to dark spots before the cheese has fully melted.
- Mayonnaise: This is my secret weapon. It’s essentially an emulsion of oil and egg. The oil has a higher smoke point than butter, meaning you get a more even, golden-brown crust without the risk of burning. The result is an impossibly crispy exterior. Give it a try; you might never go back.
Mind Your Fillings
A common mistake is overstuffing. If your sandwich is too thick, the heat won’t penetrate to the center, leaving you with cold fillings.
- Cheese: Use freshly grated cheese instead of pre-shredded. It melts more evenly and doesn’t contain the anti-caking agents that can make the texture grainy. Position it evenly.
- Meats and Veggies: Ensure they are at room temperature. If you add cold ingredients directly from the fridge, they will cool down the core of your sandwich, preventing the cheese from melting properly.
The Contenders: Exploring Different Toasting Methods
Now for the main event. There isn’t a single “best” way for everyone; it depends on your equipment, your time, and the kind of sandwich you’re making. Let’s break down the most popular methods.
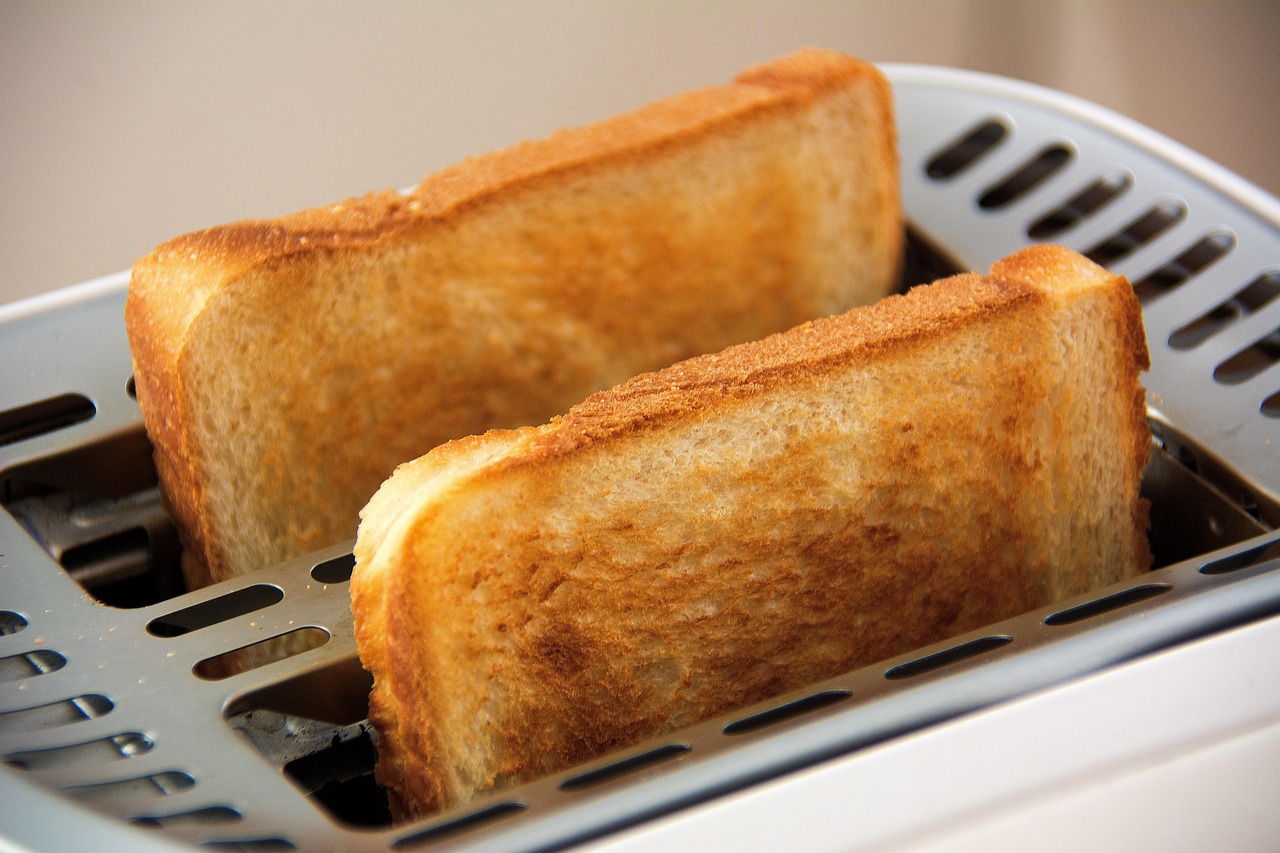
Can you use a regular pop-up toaster?
This is a question we get all the time. The short answer is: not for a traditional, filled sandwich. A standard pop-up toaster is designed for single slices of bread. Trying to cram a filled sandwich inside is a recipe for a cheesy, crumbly mess and a potential fire hazard.
However, there is a brilliant workaround: toaster bags. These are reusable, heat-resistant pouches that allow you to make a basic grilled cheese right in your pop-up toaster. It’s a quick and clean method, perfect for a speedy snack, though you won’t get the same deep, even melt as other methods.
The Pan or Skillet: The Old-School Champion
For many, this is the definitive method. A heavy-bottomed skillet (cast iron is king) provides consistent, even heat.
- Pros: Gives you ultimate control over the cooking process. You can press down with a spatula for a “smash” effect and achieve a deeply golden, fried-like crust.
- Cons: Requires constant attention to prevent burning. Can be a bit messy.
- Best for: Classic grilled cheese, patty melts, and any sandwich where a super-crispy, buttery crust is the star.
The Toaster Oven: Versatility at its Finest
The toaster oven is the unsung hero of the kitchen. It combines the direct heat of a toaster with the ambient heat of an oven.
- Pros: Excellent for melting cheese thoroughly without burning the bread. The circulating heat cooks the sandwich from all sides. It’s a hands-off approach.
- Cons: Can take slightly longer than a pan. The crust might be more “toasted” than “fried.”
- Best for: Open-faced sandwiches (tuna melts), sandwiches with thick or delicate fillings, and reheating.
The Sandwich Press / Panini Maker: The Specialist
This countertop appliance is designed for one job and it does it brilliantly. It cooks the sandwich from both sides simultaneously.
- Pros: Incredibly fast and efficient. The pressure creates those beautiful grill marks and ensures an even melt.
- Cons: Can sometimes compress the sandwich too much, squeezing out the fillings if you’re not careful. Another appliance to store and clean.
- Best for: Paninis, Cubanos, and any sandwich you want cooked quickly with a compressed, cafe-style finish.
So, What is the Best Way to Toast a Sandwich? A Step-by-Step Guide
Let’s put theory into practice. Here are my tried-and-true methods for getting that perfect result every time.
Method 1: The Ultimate Pan-Fried Sandwich
- Prep your bread: Spread a thin, even layer of mayonnaise or softened butter on one side of each slice of bread.
- Assemble: On the un-spread side of one slice, layer your cheese and fillings. Top with the second slice of bread, spread-side-up.
- Heat the pan: Place a non-stick or cast-iron skillet over medium-low heat. Patience is key here. High heat will burn the bread before the cheese melts.
- Toast it: Place the sandwich in the pan. Let it cook for 3-4 minutes, until the bottom is a deep golden brown.
- The Flip: Flip the sandwich carefully with a spatula.
- The Melt: After flipping, cover the pan with a lid for a minute or two. This traps steam and heat, creating an oven-like environment that ensures the cheese is perfectly melted and gooey.
- Serve: Cook for another 2-3 minutes, then remove, slice diagonally (it just tastes better, doesn’t it?), and enjoy immediately.
As my friend Dr. Eleanor Vance, a culinary appliance historian, always says, “The skillet connects us to the most primal form of cooking. It’s a craft. You’re not just applying heat; you’re conducting an orchestra of texture and flavor with your own hands.”
Method 2: The Toaster Oven for Flawless Melts
- Preheat: Set your toaster oven to a medium heat, around 375°F (190°C).
- Assemble: Build your sandwich on a small baking sheet or a piece of foil for easy cleanup. Leave the top slice of bread off, placing it alongside the open-faced bottom.
- The First Toast: Place it in the toaster oven for 4-5 minutes. This allows the heat to directly hit the fillings and start the melting process.
- Combine and Finish: Carefully remove it, place the top slice of bread on, and return it to the toaster oven for another 3-4 minutes, or until the top is golden and the cheese is fully melted.
This two-step method prevents the top from burning while giving the cheese a head start.
Comparison of Toasting Methods
| Method | Speed | Evenness of Crust | Melt Quality | Cleanup |
|---|---|---|---|---|
| Pan / Skillet | Medium | Good (with practice) | Excellent | Medium |
| Toaster Oven | Slow | Excellent | Excellent | Easy |
| Sandwich Press | Fast | Very Good (grill marks) | Very Good | Medium |
| Pop-Up Toaster (with bags) | Very Fast | Good | Good | Easiest |
Frequently Asked Questions (FAQ)
Q: Can you put a whole sandwich in a regular toaster?
A: No, you should never put a filled sandwich directly into a pop-up toaster. It’s a fire risk and will create a huge mess. However, you can use specially designed, reusable toaster bags for a quick and clean toasted cheese sandwich.
Q: What’s the secret to a non-soggy toasted sandwich?
A: The secret lies in two things: using a barrier like butter or mayo on the outside of the bread, and not using overly wet ingredients inside. If you’re using tomatoes, for instance, pat them dry before adding them to the sandwich.
Q: Is a sandwich press better than a pan?
A: “Better” is subjective. A sandwich press is faster and easier for beginners because it cooks both sides at once. A pan offers more control for experienced cooks to achieve a specific type of crust and is more versatile for other kitchen tasks.
Q: What temperature is best for toasting a sandwich in a toaster oven?
A: A moderate temperature of around 375°F to 400°F (190°C to 200°C) is ideal. This is hot enough to toast the bread and melt the cheese without being so hot that it burns the exterior before the inside is warmed through.
Q: How do I get cheese to melt perfectly without burning the bread?
A: The key is medium-low heat and patience. If using a pan, covering it with a lid for a minute after flipping traps steam and helps the cheese melt beautifully. Using room-temperature cheese also gives it a significant head start.
The Final Word on Your Perfect Toasted Sandwich
So, after all this, what is the best way to toast a sandwich? The answer is that the best method is the one that fits your kitchen, your ingredients, and your personal taste. For the purist who loves a crispy, buttery crust, the skillet is your trusted companion. For the busy parent or student, a sandwich press or a toaster with toaster bags offers unmatched speed. And for the culinary explorer making a gourmet melt, the toaster oven provides the gentle, even heat you need.
The most important ingredient is care. Take a moment to prepare your ingredients, control your heat, and treat the humble toasted sandwich with the respect it deserves. It’s more than just a quick meal; it’s a piece of comfort, a bite of nostalgia, and a simple, delicious art form. Now go create your masterpiece.